
Looking for a hearty meal that warms you from the inside out? This Venison Pot Pie Recipe is exactly what your dinner table needs.
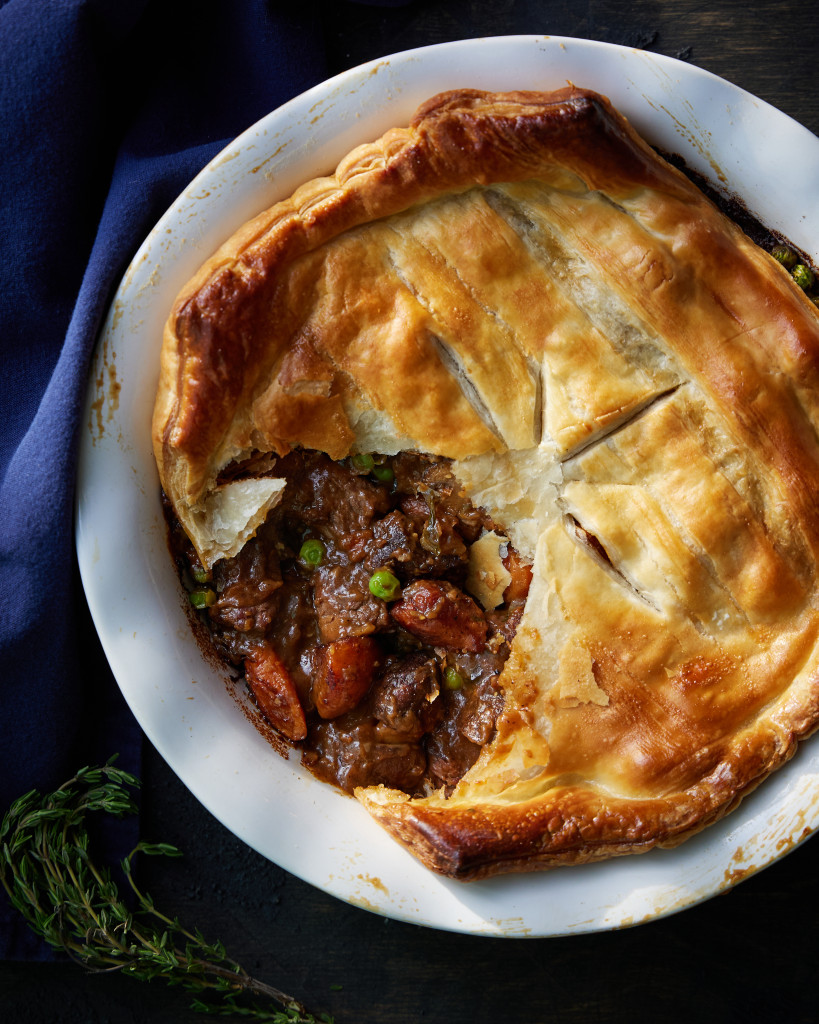
Imagine tender, flavorful venison combined with fresh vegetables and a rich gravy, all wrapped in a golden, flaky crust. It’s comfort food that feels special and satisfying. If you want to impress your family or simply enjoy a delicious, home-cooked meal, keep reading—this recipe will guide you step-by-step to pot pie perfection.
Credit: magazine.outdoornebraska.gov
Ingredients For Venison Pot Pie
Creating a delicious venison pot pie starts with choosing the right ingredients. Each element plays a key role in the flavor and texture of this hearty dish. From the venison cuts to the vegetables and the crust, every part matters.
Choosing The Right Venison Cuts
Use tender cuts like loin or leg for the best pot pie. These cuts cook well and stay juicy. Avoid tough parts that need long cooking times. Cubing the meat helps it cook evenly. Fresh venison adds a rich, gamey flavor that stands out.
Essential Vegetables And Herbs
Carrots, peas, and potatoes are classic choices for pot pie. They add sweetness and texture. Onions and celery give a nice base flavor. Fresh herbs like thyme and rosemary enhance the taste. Keep the vegetables cut into small pieces for quick cooking.
Pie Crust Options
A flaky pie crust makes a perfect topping. Use store-bought crusts for convenience or homemade for extra flavor. Puff pastry is another great option for a light, crispy texture. Brush the crust with egg wash to get a golden finish.

Credit: jesspryles.com
Preparing The Venison Filling
Preparing the venison filling is a key step for a delicious pot pie. Proper preparation brings out the best flavors and textures. It starts with marinating and seasoning the meat to boost taste. Then, cooking the venison carefully ensures it stays tender. Finally, combining the filling with vegetables and sauce creates a rich and hearty blend. Each step matters for a satisfying meal.
Marinating And Seasoning Tips
Marinate venison for at least two hours. Use simple ingredients like garlic, rosemary, and olive oil. A splash of vinegar or lemon juice helps tenderize the meat. Season with salt and pepper before cooking. Avoid strong spices that can overpower venison’s natural flavor.
Cooking Venison For Tenderness
Cook venison slowly over medium heat. Use a heavy pan or Dutch oven. Brown the meat on all sides to seal in juices. Simmer gently until tender. Avoid overcooking, which makes the meat tough and dry.
Combining Vegetables And Sauce
Choose root vegetables like carrots, potatoes, and onions. Dice them evenly for quick cooking. Add vegetables to the pot with venison. Pour in broth or gravy to create a thick sauce. Stir well and cook until vegetables soften. This mix makes the filling rich and flavorful.
Making The Perfect Crust
Making the perfect crust is key to a delicious venison pot pie. The crust holds the filling and adds a crisp texture. A good crust should be flaky, golden, and firm enough to hold the rich venison filling. There are two main ways to achieve this: making your own crust or using a store-bought one. Each method has tips to ensure a great result.
Homemade Pie Crust Techniques
Use cold ingredients to keep the crust flaky. Chill the flour, butter, and water before mixing. Cut the butter into small pieces and work quickly. Avoid over-mixing the dough to prevent toughness. Roll the dough gently on a floured surface. Keep it cold until ready to bake. This makes the crust crisp and tender.
Using Store-bought Crusts
Choose high-quality store-bought pie crusts for convenience. Let the crust thaw in the refrigerator before use. Gently press it into the pie dish without stretching. Prick the bottom with a fork to avoid bubbles. Follow package baking instructions closely. Store-bought crusts save time and still taste great.
Tips For Flaky And Golden Crust
Brush the crust with an egg wash before baking. This gives a shiny, golden finish. Bake the pie on a lower rack for even heat. Use a pie shield or foil to protect edges from burning. Avoid over-baking, or the crust will dry out. Let the pie cool slightly to set the crust perfectly.
Assembling The Pot Pie
Assembling the venison pot pie is a satisfying step. It brings all the flavors together under a golden crust. Careful assembly ensures a perfect bake and delicious taste. Let’s explore how to layer, seal, and decorate your pot pie.
Layering The Filling And Crust
Start by spooning the venison filling evenly into your pie dish. Spread it gently to avoid breaking the tender meat. Next, cover the filling with the rolled-out crust. Press the edges lightly to fit the dish shape. Avoid pressing too hard to keep the crust flaky.
Sealing And Venting The Pie
Seal the edges by pinching the bottom and top crust together. This prevents the filling from leaking during baking. Cut small slits on the crust surface to let steam escape. These vents stop the crust from becoming soggy or puffing up too much.
Adding Decorative Touches
Make the pie look inviting with simple decorations. Use leftover dough to cut shapes like leaves or small circles. Arrange them on top of the crust for a rustic touch. Brush the crust with egg wash for a shiny, golden finish.
Baking And Serving
Baking and serving a venison pot pie is the final step to a comforting meal. Baking cooks the filling and crust perfectly, locking in flavors. Serving it right enhances the dining experience. Let’s explore how to bake and serve this dish well.
Optimal Baking Temperature And Time
Set your oven to 375°F (190°C). This temperature cooks the filling without burning the crust. Bake the pot pie for 40 to 45 minutes. Watch for a golden brown crust on top. If the edges brown too fast, cover them with foil. This keeps the crust from burning while the filling cooks.
Checking For Doneness
Look for bubbling filling through the crust vents. This means the inside is hot and cooked. Insert a knife in the center; it should come out hot. The crust should be crisp and firm. If the filling is not bubbling, bake for 5-10 more minutes. Avoid opening the oven often to keep heat steady.
Serving Suggestions And Side Dishes
Let the pot pie rest for 10 minutes after baking. This helps the filling set for easier cutting. Serve with a fresh green salad for lightness. Roasted vegetables pair well with the rich flavors. A side of mashed potatoes adds extra comfort. Warm bread or rolls complement the meal nicely.
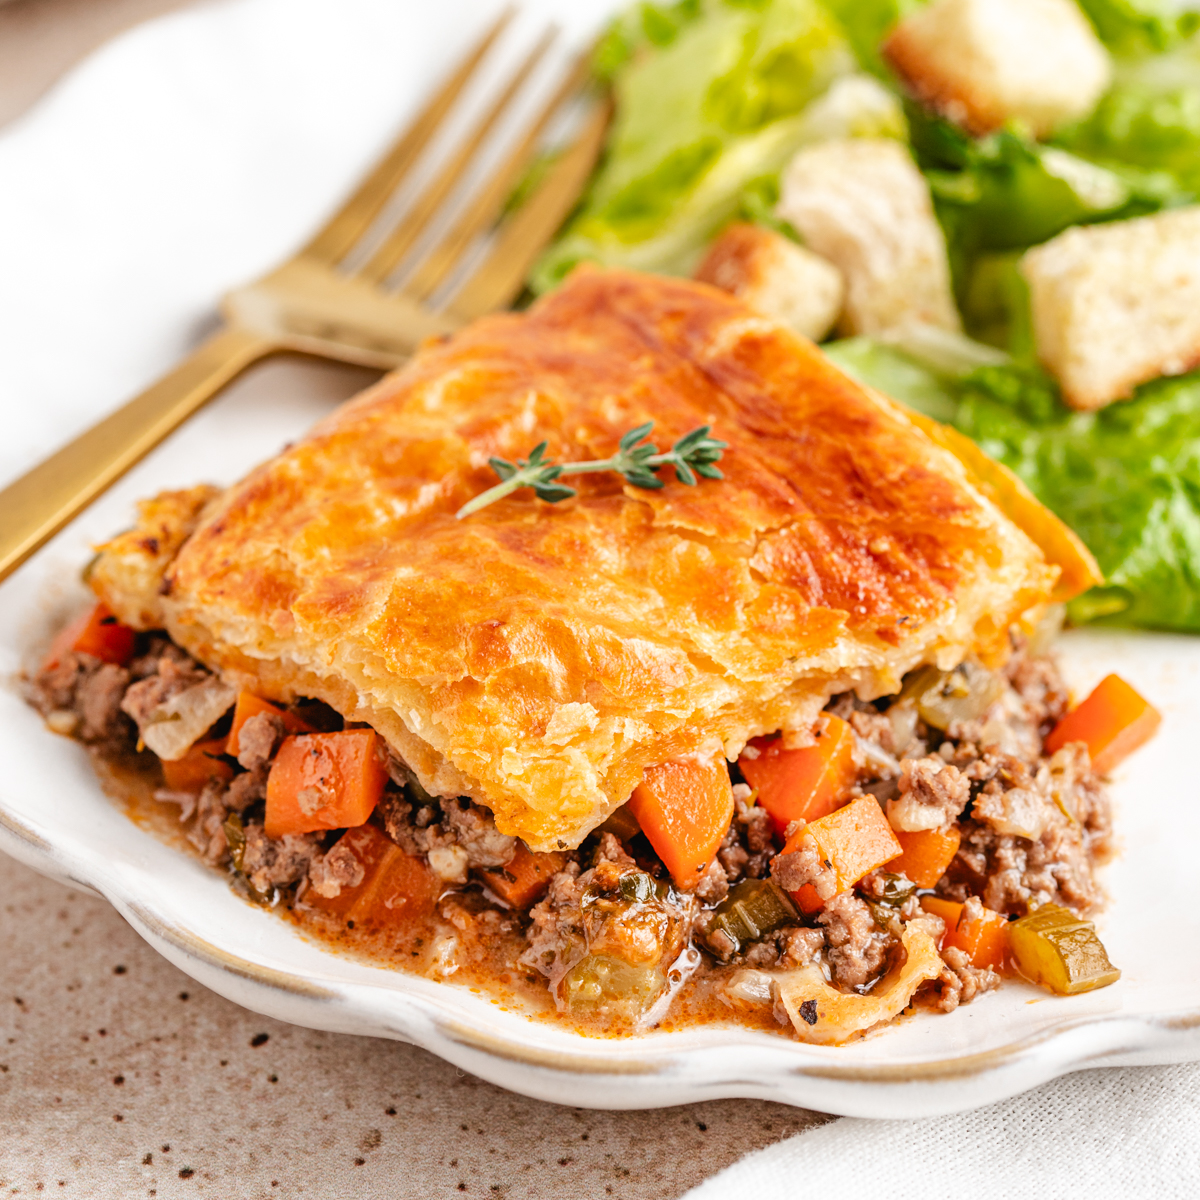
Credit: www.missallieskitchen.com
Variations And Enhancements
Venison pot pie is a hearty dish with many ways to change the flavor and texture. Small tweaks can make it taste new every time. You can mix in different veggies, herbs, or spices. It’s easy to adjust for special diets too. These ideas help you enjoy this meal in fresh ways.
Adding Mushrooms And Other Vegetables
Mushrooms add a rich, earthy taste to venison pot pie. Use button, cremini, or shiitake mushrooms. Carrots, peas, and green beans bring color and crunch. Sweet potatoes add a soft, sweet contrast. These veggies make the pie more filling and healthy. Chop them small for even cooking.
Using Different Herbs And Spices
Herbs like thyme, rosemary, and sage match venison well. They give a fresh, woodsy flavor. Try paprika or smoked chili powder for a smoky touch. A pinch of nutmeg can add warmth. Use garlic and onion powder for deeper taste. Spice mix lets you customize the pie’s aroma and kick.
Making It Gluten-free Or Dairy-free
Gluten-free flour works well for the crust instead of wheat flour. Almond or rice flour can be good options. For dairy-free, swap butter with coconut oil or olive oil. Use plant-based milk like almond or oat milk in the filling. These swaps keep the pie tasty without gluten or dairy.
Storing And Reheating Leftovers
Storing and reheating leftover venison pot pie keeps its rich flavors and hearty texture. Proper care preserves the pie’s taste and ensures food safety. Follow simple steps to store and reheat the pot pie perfectly.
Proper Cooling And Refrigeration
Cool the pot pie quickly after cooking. Let it sit at room temperature for no more than two hours. Cover the pie tightly with plastic wrap or foil. Store it in the refrigerator at or below 40°F (4°C). Use leftovers within three to four days for best quality.
Freezing Tips For Future Meals
Freeze venison pot pie to enjoy it later. Wrap the pie tightly in plastic wrap and then in foil. Place it in a freezer-safe container or bag. Label with the date before freezing. Consume frozen pot pie within two to three months for good flavor.
Best Methods To Reheat
Reheat pot pie gently to keep crust crisp and filling warm. Use an oven set at 350°F (175°C) for 20-30 minutes. Cover the edges with foil to prevent burning. Avoid microwaving to keep crust flaky. Check that the filling is hot before serving.
Frequently Asked Questions
What Is The Best Cut Of Venison For Pot Pie?
The best cuts are venison shoulder or leg. They are tender and flavorful. These cuts hold up well during slow cooking, making your pot pie juicy and rich in taste.
How Do I Tenderize Venison For Pot Pie?
Marinate venison in acidic liquids like vinegar or wine for 4-6 hours. This breaks down tough fibers, ensuring tender meat. Slow cooking in broth also helps soften the venison in the pot pie.
Can I Substitute Beef For Venison In Pot Pie?
Yes, beef can replace venison. Use chuck roast or stew meat for similar texture and flavor. Adjust cooking time as beef may cook faster than venison.
What Vegetables Pair Well In Venison Pot Pie?
Carrots, peas, potatoes, and celery are ideal. They add texture, color, and sweetness to balance the rich venison flavor. These vegetables cook well together in the pot pie filling.
Conclusion
Venison pot pie brings comfort and rich flavor to your table. This recipe is simple and uses easy ingredients. It cooks quickly, making it perfect for busy days. Serve it with a side salad or fresh bread. Everyone will enjoy the warm, hearty taste.
Try this dish for a cozy meal tonight. You will love how tender the meat turns out. A great way to enjoy venison at home. Simple, tasty, and satisfying. Give it a try soon.