

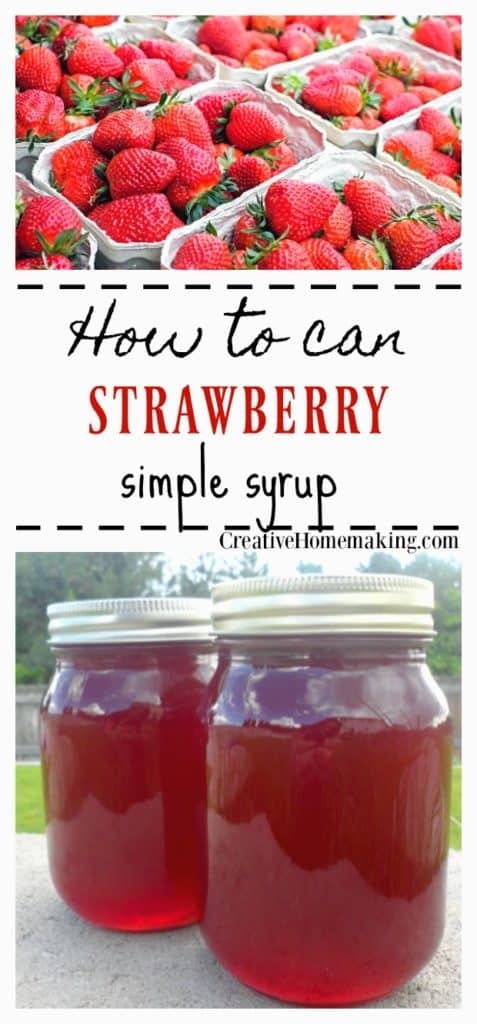
Are you ready to make your own delicious strawberry syrup that you can enjoy all year round? Imagine drizzling sweet, homemade syrup over pancakes, ice cream, or even mixing it into your favorite drinks.
With this easy strawberry syrup canning recipe, you’ll learn how to preserve the fresh taste of strawberries in a jar. You don’t need fancy equipment or expert skills—just a few simple ingredients and clear steps to follow. Keep reading, and you’ll discover how to create a sweet treat that’s perfect for your kitchen and sure to impress your family and friends.
Ingredients Needed
Making strawberry syrup at home needs just a few simple ingredients. Each one plays a key role in creating the perfect taste and texture. Freshness and quality affect the final syrup the most.
Fresh Strawberries
Choose ripe, red strawberries without bruises or soft spots. Fresh strawberries give the syrup a rich, natural flavor. You need about two pounds for a good batch.
Sugar Options
White granulated sugar is the common choice for sweetness and clear syrup. You can also try cane sugar or organic sugar for a different taste. Sugar balances the tartness of the strawberries.
Lemon Juice
Use fresh lemon juice to brighten the flavor and help preserve the syrup. Lemon juice adds a slight tang and keeps the color vibrant. About two tablespoons work well for each batch.
Water
Water helps dissolve the sugar and blend the flavors smoothly. Use clean, fresh water to keep the syrup pure. Typically, one cup is enough to start the syrup base.
Credit: creativehomemaking.com
Equipment Required
Preparing strawberry syrup for canning needs some basic tools. These tools help keep the process safe and easy. Using the right equipment ensures the syrup stays fresh and tasty.
Gathering all items before you start will save time. Each tool has a special job in the canning process.
Canning Jars And Lids
Use clean, sturdy canning jars made for preserving. Each jar must have a matching lid and ring. New lids seal the jars tightly to keep air out. Avoid jars with cracks or chips to prevent leaks.
Large Pot
A big pot is necessary for boiling jars and syrup. It needs to be tall enough to hold jars with water above them. Boiling kills bacteria and seals the jars safely. Use a pot with a lid to keep heat steady.
Funnel And Ladle
A funnel helps pour syrup into jars without spills. It fits neatly in the jar opening. A ladle is perfect for scooping syrup from the pot. These tools keep your workspace clean and syrup in the jars.
Jar Lifter
A jar lifter is a special tool to grab hot jars. It prevents burns and keeps jars from slipping. Use it to place jars in the pot and remove them safely. This tool adds safety and ease to the canning process.
Preparing Strawberries
Preparing strawberries is the first step in making delicious strawberry syrup. Fresh and clean strawberries give the best flavor. Proper preparation helps create a smooth syrup with natural sweetness.
Take your time to handle the strawberries carefully. This ensures the syrup turns out thick and tasty.
Washing And Hulling
Start by washing strawberries under cold water. This removes dirt and tiny bugs. Use a colander to rinse them gently. Avoid soaking the berries; it can make them soggy.
Next, hull the strawberries by removing the green leaves and stems. Use a small knife or a strawberry huller tool. Remove only the green parts and not too much fruit. Clean strawberries cook better and blend smoothly.
Mashing Techniques
Mashing breaks down the strawberries for syrup. Use a potato masher or fork for this step. Mash gently for a chunky texture. Mash more for a smoother syrup.
Don’t over-mash; it can make the syrup too watery. Test the texture to match your taste. Well-mashed strawberries release natural juices that sweeten the syrup.

Credit: heartscontentfarmhouse.com
Making The Syrup
Making the syrup is the heart of the strawberry syrup canning process. It transforms simple ingredients into a delicious, sweet syrup. This syrup will capture the fresh taste of strawberries and keep it all year long.
Careful preparation and attention during this step ensure a perfect texture and flavor. Let’s explore how to make the syrup from start to finish.
Combining Ingredients
Start with fresh strawberries, sugar, and water. Measure the sugar carefully to balance sweetness. Pour water into a large pot first. Add sugar and stir to dissolve. Next, add the strawberries. Stir gently to mix all ingredients well.
Cooking Process
Place the pot on medium heat. Stir often to prevent burning. Let the mixture come to a gentle boil. Reduce the heat to low and simmer. Cook until strawberries soften and release juice. This usually takes about 15 minutes. Stir occasionally to keep syrup smooth.
Testing Consistency
Check syrup thickness by spooning a small amount onto a cold plate. Let it cool for a minute. Run your finger through the syrup. If it stays separated, cook a bit longer. The syrup should be thick but pourable. Avoid overcooking to keep fresh flavor.
Canning Process
The canning process is key to preserving strawberry syrup safely and for a long time. It stops bacteria and molds from growing inside the jars. This keeps the syrup fresh and tasty for months.
Follow each step carefully. Proper canning means your syrup stays safe and delicious.
Sterilizing Jars
Start by cleaning jars with hot, soapy water. Rinse them well. Place jars in boiling water for 10 minutes to kill germs. Keep jars hot until you fill them. This prevents cracking when hot syrup is added.
Filling Jars Safely
Pour hot strawberry syrup into warm jars. Leave about half an inch of space at the top. This space allows syrup to expand during processing. Remove air bubbles by gently tapping jars or using a non-metallic tool. Clean the jar rims to ensure a good seal.
Sealing And Processing
Place sterilized lids on jars and screw on bands until fingertip tight. Do not over-tighten. Process jars in a boiling water bath for 10 minutes. Make sure water covers jars by at least one inch. Remove jars carefully and let them cool on a towel. Check seals after 24 hours. Sealed lids should not flex up and down.
Credit: www.foodtalkdaily.com
Storage Tips
Proper storage is key to keeping your strawberry syrup fresh and tasty. Following simple storage tips helps maintain flavor and safety. It also extends the syrup’s usability.
Cool And Dark Places
Store your canned strawberry syrup in a cool spot. Avoid direct sunlight or heat sources. A pantry or cupboard works well. Darkness slows down spoilage and color changes. Keep jars away from moisture to prevent rust on lids.
Shelf Life Expectations
Homemade strawberry syrup lasts about one year if stored correctly. Always check for signs of spoilage before use. Look for bubbles, off smells, or mold. After opening, keep syrup in the fridge and use within one month. Proper storage keeps the syrup safe and delicious.
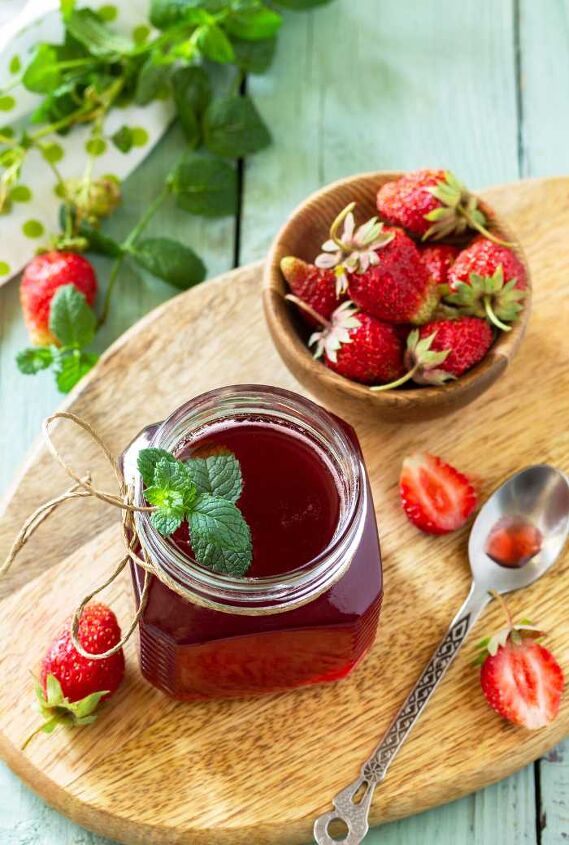
Using Strawberry Syrup
Strawberry syrup is a sweet and tasty treat made from fresh strawberries. It can enhance many dishes and drinks with its rich flavor. Using homemade strawberry syrup adds a fresh fruit taste and natural sweetness.
This syrup is very versatile. It works well in many recipes and everyday meals. Here are some simple ways to enjoy it.
Beverages
Stir strawberry syrup into cold water or soda for a fruity drink. Mix it with lemonade for a sweet twist. Add it to iced tea for a fresh, sweet flavor. Use it as a topping for milkshakes and smoothies.
Desserts
Drizzle strawberry syrup over ice cream or yogurt. Pour it on cakes or cheesecakes for extra sweetness. Use it to soak sponge cakes and add flavor. It also works well as a dip for fresh fruit.
Breakfast Ideas
Pour strawberry syrup on pancakes or waffles. Mix it into oatmeal or yogurt bowls. Use it as a spread on toast or muffins. It adds a fresh fruit taste to simple breakfast foods.
Troubleshooting
Troubleshooting is an important part of canning strawberry syrup. Small problems can spoil your batch or change the taste. Knowing how to fix common issues helps keep your syrup fresh and tasty. Below are tips for handling common problems in syrup canning.
Preventing Crystallization
Crystals form when sugar separates from liquid. Stir syrup gently while heating to dissolve sugar fully. Avoid boiling syrup too long, as this causes sugar to crystalize. Use clean utensils and jars to prevent sugar crystals from forming. Adding a little lemon juice helps keep sugar dissolved.
Avoiding Mold
Mold grows if syrup is not sealed well or stored properly. Always use sterilized jars and lids before filling. Leave correct headspace when canning to create a good seal. Store syrup in a cool, dark place to slow mold growth. After opening, keep syrup in the refrigerator to stay safe.
Fixing Texture Issues
Syrup that is too thick or thin can spoil your recipe. Thin syrup may need more cooking to reduce water content. Thick syrup can be thinned with warm water before use. Stir syrup well before canning to keep texture smooth. Avoid overcooking to keep syrup from becoming sticky or hard.
Frequently Asked Questions
How Do You Safely Can Strawberry Syrup At Home?
To safely can strawberry syrup, sterilize jars and lids before use. Boil the syrup, fill jars hot, and process in a water bath for 10 minutes. This method prevents contamination and preserves the syrup for long-term storage.
What Ingredients Are Essential For Strawberry Syrup Canning?
Essential ingredients include fresh strawberries, sugar, lemon juice, and water. These create a balanced syrup that’s sweet and flavorful. Using fresh, ripe strawberries ensures the best taste and natural color in your canned syrup.
How Long Does Canned Strawberry Syrup Last?
Properly canned strawberry syrup lasts up to one year in a cool, dark place. Always check seals before use and refrigerate after opening to maintain freshness and prevent spoilage.
Can I Use Frozen Strawberries For Syrup Canning?
Yes, you can use frozen strawberries. Thaw them first and drain excess water. This maintains syrup consistency and flavor while making the process easier when fresh berries aren’t available.
Conclusion
Strawberry syrup canning is simple and fun. You get sweet syrup to enjoy anytime. Store it well for long-lasting freshness. Use it on pancakes, desserts, or drinks. Homemade syrup tastes better than store-bought. Try this recipe and enjoy your creation.
Preserve the flavor of fresh strawberries easily. Canning saves money and reduces waste. Share your syrup with family and friends. Keep making syrup to enjoy all year.