

Are you ready to enjoy the sweet taste of fresh strawberries all year long? Making your own strawberry syrup and canning it at home is easier than you think.
Imagine drizzling rich, homemade syrup over pancakes, ice cream, or yogurt whenever you want. This simple recipe will guide you step-by-step, so you can create delicious, natural syrup without any preservatives. Keep reading to discover how you can turn fresh strawberries into a jar of pure happiness that lasts.
Your kitchen and taste buds will thank you!
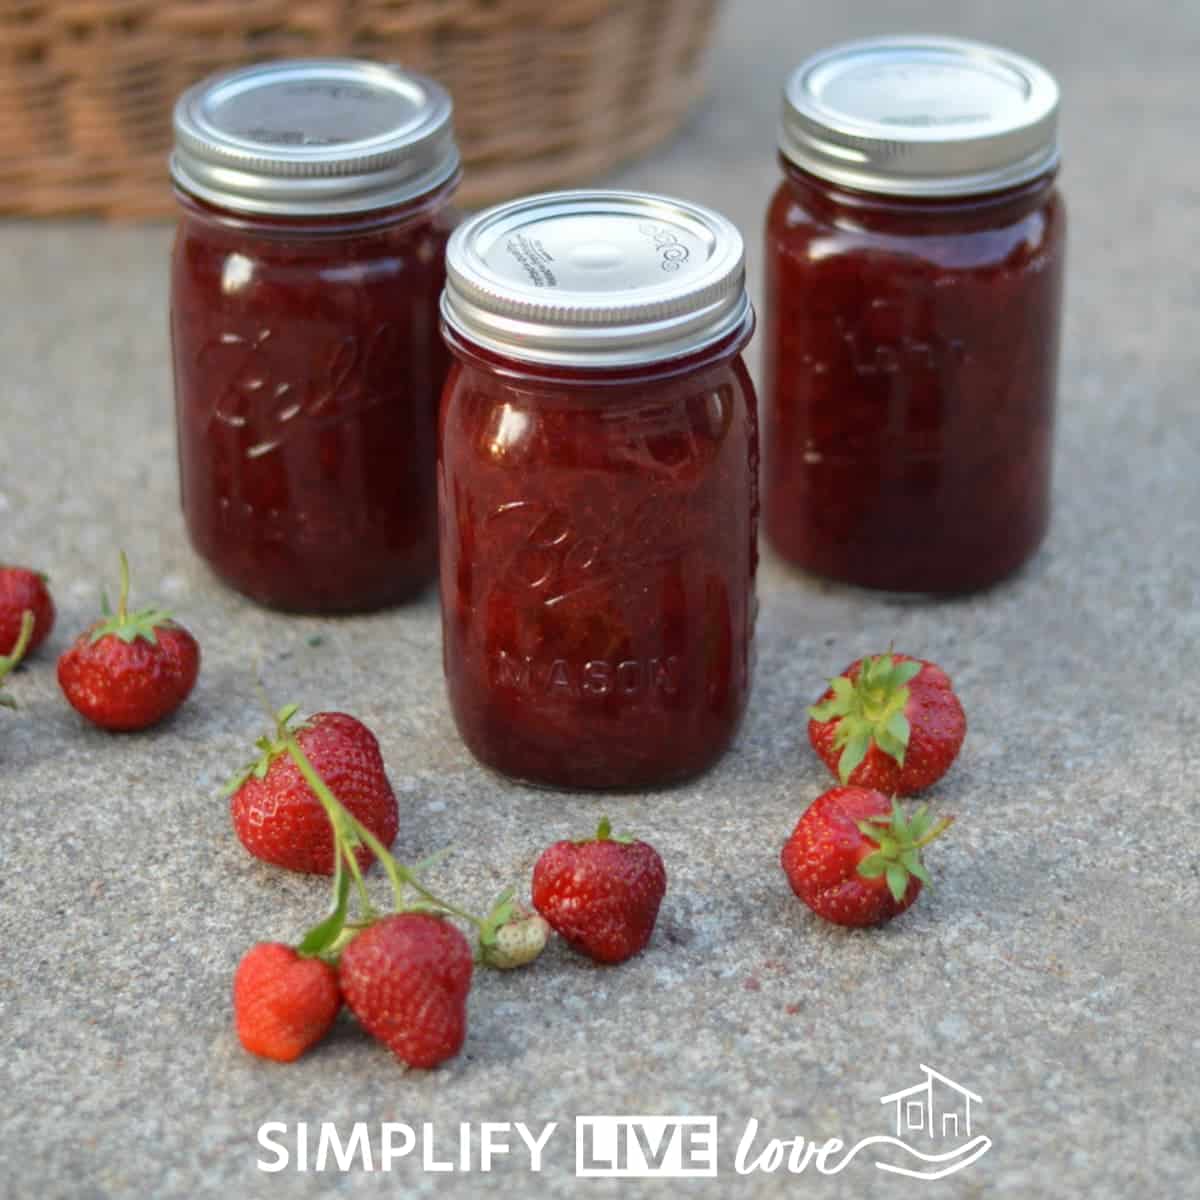
Credit: simplifylivelove.com
Ingredients For Strawberry Syrup
Creating delicious strawberry syrup starts with the right ingredients. Each component shapes the taste, texture, and shelf life of your syrup. Choosing fresh, quality ingredients ensures the best flavor and safety during canning. Here is a simple guide to the main ingredients you need for strawberry syrup.
Selecting Fresh Strawberries
Pick ripe strawberries that are bright red and firm. Avoid berries with bruises or mold. Fresh strawberries bring natural sweetness and rich color. Wash them gently to keep their shape. Using fresh fruit is key to a tasty syrup.
Choosing Sweeteners And Additives
Sugar is the most common sweetener for strawberry syrup. White granulated sugar works well. You can also use honey or agave syrup for a different taste. Some recipes add lemon juice to balance sweetness. Lemon juice also helps preserve the syrup during canning.
Additional Flavor Enhancers
Vanilla extract adds a warm, inviting flavor. A small pinch of salt can bring out sweetness. Fresh herbs like mint or basil give a fresh twist. Use these enhancers sparingly to keep the strawberry taste strong.
Preparing Strawberries For Syrup
Preparing strawberries for syrup is the first step to a delicious homemade treat. Fresh, clean berries bring the best flavor. Proper preparation helps the syrup taste natural and sweet. Follow simple steps to get your strawberries ready for canning.
Washing And Cleaning Berries
Start by rinsing strawberries under cold water. Use a gentle stream to avoid bruising. Remove dirt and tiny bugs carefully. Drain the water using a colander. Pat berries dry with a clean towel. Clean berries make your syrup fresh and safe.
Cutting And Mashing Techniques
Trim the green stems off each strawberry. Cut large berries into halves or quarters. Smaller berries can be left whole. Use a potato masher or fork to crush the berries. Mash until you get a chunky texture. This helps release natural juices for your syrup.
Cooking The Strawberry Syrup
Cooking strawberry syrup is a key step in canning your homemade treat. This process transforms fresh strawberries into a thick, sweet syrup. The right cooking method brings out the berry’s natural flavors. It also helps preserve the syrup for long-term storage. Follow these simple steps to cook your syrup perfectly.
Combining Ingredients
Start by washing and crushing fresh strawberries. Place them in a large pot. Add sugar and a little lemon juice. The lemon juice helps balance the sweetness. Stir the mixture gently until the sugar dissolves. This creates a smooth base for your syrup.
Simmering To The Right Consistency
Heat the pot over medium heat. Let the mixture come to a gentle boil. Stir often to prevent burning. Simmer for about 15 to 20 minutes. The syrup will start to thicken and darken. This step concentrates the flavors and sugars.
Testing Syrup Thickness
Check the syrup’s thickness by spooning a small amount on a cold plate. Let it cool for a minute. Run your finger through the syrup. If it holds a clear line, it is ready. If it runs or is too thin, cook a little longer. Proper thickness ensures perfect syrup texture after canning.
Canning Supplies And Equipment
Canning strawberry syrup requires the right supplies and equipment. Proper tools ensure safety and preserve flavor. Using suitable jars and sterilizing them correctly helps keep the syrup fresh longer. This section explains the key items needed for canning your homemade syrup.
Choosing The Right Jars
Pick jars made for canning, like mason jars. They seal tightly and resist heat well. Avoid jars with cracks or chips. Use jars in sizes that match your syrup portions. Clear jars let you see the syrup’s color and texture. Ensure lids are new for a proper seal.
Essential Tools For Canning
Gather basic tools before starting. A large pot for boiling jars is necessary. Use a jar lifter to handle hot jars safely. A funnel helps pour syrup without spills. A ladle and a clean cloth will be useful too. These tools make the process easier and safer.
Sterilizing Jars And Lids
Sterilize jars and lids to prevent bacteria growth. Boil jars and lids in hot water for at least 10 minutes. Use clean tongs to remove them from the water. Dry jars on a clean towel or let them air dry. Sterilizing protects your syrup from spoiling fast.
Canning Process For Strawberry Syrup
Canning strawberry syrup preserves its fresh flavor for months. The process needs care and attention. It ensures the syrup stays safe and tasty. Follow simple steps to can your syrup correctly.
Filling Jars Safely
Use clean, sterilized jars for canning. Pour hot syrup into jars, leaving about half an inch of space at the top. Wipe jar rims to remove any syrup spills. This step helps jars seal properly and prevents spoilage.
Sealing And Processing
Place sterilized lids on jars and screw bands until snug. Do not overtighten. Process jars in a boiling water bath for about 10 minutes. The heat kills bacteria and seals the jars. Processing time may change by altitude. Follow your local guidelines.
Cooling And Storing Tips
Remove jars carefully and place on a towel to cool. Let them sit undisturbed for 12 to 24 hours. Check seals by pressing the lid center; it should not pop. Store sealed jars in a cool, dark place. Use within one year for best flavor.
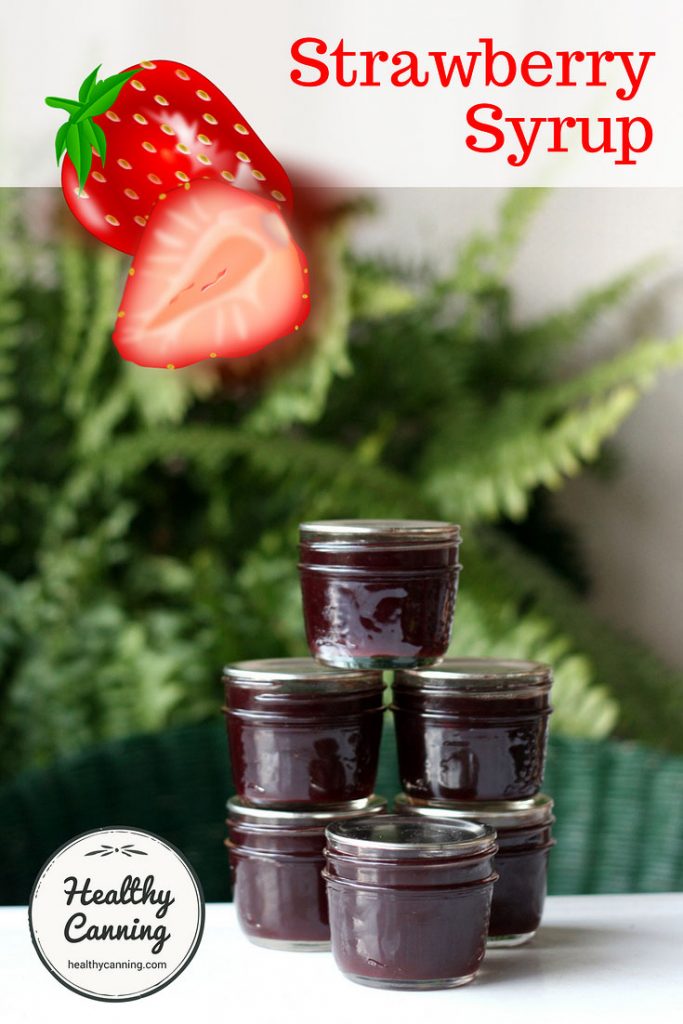
Credit: www.healthycanning.com
Troubleshooting Common Issues
Making strawberry syrup and canning it can sometimes bring challenges. These problems might affect the taste, texture, or safety of your syrup. Knowing how to fix common issues saves time and keeps your syrup fresh and tasty. This section covers key tips to handle typical problems in strawberry syrup canning.
Preventing Mold And Spoilage
Mold grows if syrup is not stored correctly or jars are not clean. Always use sterilized jars and lids before filling. Fill jars while syrup is hot to kill bacteria. Leave a little space at the top for expansion. Store sealed jars in a cool, dark place to slow mold growth. Check jars regularly for any signs of mold or bad smell. Discard syrup if mold appears to avoid health risks.
Fixing Syrup Texture Problems
Grainy or thick syrup may result from too much sugar or cooking errors. Stir syrup continuously while cooking to avoid crystallization. Use the right sugar amount in the recipe for smooth syrup. If syrup is too thick, warm it gently and add a small amount of water. If too thin, cook it longer to evaporate excess liquid. Proper cooking time ensures the best syrup consistency.
Dealing With Seal Failures
Seal failure happens when jars do not close tightly after canning. Check jar rims for cracks or dirt before sealing. Use new lids for each canning session to ensure a good seal. Press the center of the lid after cooling; it should not pop up or down. If jars do not seal, refrigerate and use syrup soon or reprocess jars. Proper sealing keeps syrup safe and fresh longer.
Creative Uses For Strawberry Syrup
Strawberry syrup is more than just a sweet treat. It adds a fresh, fruity flavor to many dishes. Using homemade strawberry syrup can brighten up your meals and drinks. Here are some creative ways to enjoy your canned strawberry syrup.
Beverage Recipes
Mix strawberry syrup with sparkling water for a refreshing soda. Add it to lemonade for a fruity twist. Use it to sweeten iced tea or hot tea. Blend it into smoothies for extra flavor. Drizzle over milkshakes for a rich, strawberry taste.
Dessert Toppings
Pour strawberry syrup over ice cream or frozen yogurt. Use it as a sauce for cakes and cheesecakes. Drizzle on pancakes or waffles for a sweet finish. Add it to custards or puddings for extra flavor. Combine with whipped cream for a simple topping.
Breakfast Enhancements
Stir strawberry syrup into oatmeal or porridge. Spread it on toast or English muffins. Mix into yogurt for a fruity boost. Drizzle over fresh fruit or fruit salad. Use it to flavor homemade granola or cereal bowls.

Credit: heartscontentfarmhouse.com
Frequently Asked Questions
How Do You Can Strawberry Syrup Safely?
To can strawberry syrup safely, sterilize jars and lids thoroughly. Fill jars with hot syrup, leaving ½ inch headspace. Process jars in a boiling water bath for 10 minutes to prevent spoilage and ensure a proper seal.
What Ingredients Are Needed For Strawberry Syrup Canning?
You need fresh strawberries, sugar, water, and lemon juice. These create a sweet, flavorful syrup that preserves well. Lemon juice helps maintain color and acidity for safe canning.
How Long Does Canned Strawberry Syrup Last?
Properly canned strawberry syrup lasts up to 12 months in a cool, dark place. Always check seals and appearance before use. Refrigerate after opening and consume within a few weeks.
Can I Use Frozen Strawberries For Syrup Canning?
Yes, you can use frozen strawberries. Thaw and drain excess water before cooking. Using frozen berries may slightly change texture but preserves flavor well for syrup.
Conclusion
Strawberry syrup canning is simple and fun to try at home. Fresh strawberries and sugar make a tasty syrup for many dishes. Store your syrup safely to enjoy it long after summer ends. This homemade syrup adds sweetness to pancakes, desserts, and drinks.
Give it a go and enjoy the natural flavors of strawberries anytime. Canning your syrup saves money and reduces waste. A small effort brings big rewards in taste and freshness. Keep practicing, and your syrup will turn out perfect every time.