

Craving that sweet, gooey treat from Starbucks but want to enjoy it at home? You’re in the right place.
The Starbucks Marshmallow Dream Bar is a delicious blend of crunchy, chewy, and creamy textures that will satisfy your sweet tooth instantly. Imagine biting into a bar packed with marshmallows, chocolate, and a buttery crust—sounds irresistible, right? In this recipe, you’ll discover how simple ingredients come together to create that perfect dreamy bar.
Ready to make your kitchen smell amazing and treat yourself like never before? Keep reading, and let’s get started!
Ingredients Needed
To make the Starbucks Marshmallow Dream Bar, you need a few simple ingredients. Each part of the bar has its own special components. These combine to create the soft, sweet, and chocolatey treat you love. Gather fresh and good-quality ingredients for the best results.
Marshmallow Components
Start with classic marshmallows or make your own. Use gelatin for texture and sweetness. Corn syrup helps keep the marshmallow soft and chewy. Powdered sugar prevents stickiness and adds lightness. Vanilla extract gives a mild, sweet flavor.
Chocolate Layers
Choose good-quality milk chocolate for a creamy, smooth layer. Semi-sweet chocolate chips add a rich contrast. Butter helps the chocolate melt perfectly and stay shiny. Use these for the top and bottom layers of your bar.
Additional Flavorings
Salt balances the sweetness and enhances flavors. A little almond extract adds a nutty hint. Toasted coconut flakes bring crunch and a tropical touch. These extras make the bar taste closer to the original Starbucks version.

Credit: dessertsonadime.com
Preparing The Base
Preparing the base for the Starbucks Marshmallow Dream Bar is an important step. This part gives the bars their shape and texture. A good base makes the bars soft and chewy. Follow the steps carefully for the best results.
Choosing The Right Pan
Pick a pan that fits the recipe size. An 8×8 inch pan works well for this recipe. Use a pan with low sides. It helps the bars bake evenly and not too thick. Line the pan with parchment paper. This stops the base from sticking and makes it easy to remove.
Mixing The Ingredients
Start by melting butter in a pot. Add brown sugar and stir until smooth. Next, mix in the vanilla and salt. Remove the pot from heat before adding the marshmallows. Stir the marshmallows until they melt completely. Then add the crispy rice cereal. Mix gently to keep the texture.
Baking Tips
Preheat the oven to the right temperature before baking. Pour the mixture evenly into the pan. Press down lightly with a spatula for a flat top. Bake just until the edges turn golden. Avoid overbaking to keep the bars soft. Let the base cool completely before adding toppings.
Creating The Marshmallow Layer
Creating the marshmallow layer is a key step in the Starbucks Marshmallow Dream Bar. This layer gives the bar its soft, chewy, and sweet quality. It must be smooth and even to taste just right. The process needs care and attention to get the texture perfect.
Start with melting the marshmallows carefully, then spread them evenly over the base. The right texture comes from controlling heat and mixing well. This section explains how to melt and spread the marshmallow layer and achieve the perfect texture.
Melting And Spreading
Use low heat to melt the marshmallows slowly. Stir often to avoid burning or clumps. Add butter or cream to make the mixture smooth and creamy. Pour the melted marshmallow over the base while it is still warm. Spread it quickly but gently with a spatula. Aim for an even layer that covers the whole surface.
Achieving The Perfect Texture
The marshmallow should be soft but firm enough to hold its shape. Let it cool at room temperature without touching it. Do not refrigerate too soon; this can make it hard. The ideal texture is chewy and slightly sticky. This makes each bite enjoyable and true to the original Starbucks bar.
Adding The Chocolate Topping
Adding the chocolate topping is a key step in making the Starbucks Marshmallow Dream Bar. The chocolate adds rich flavor and a smooth finish. It also gives the bars a beautiful look that makes them irresistible.
Take your time to melt and spread the chocolate carefully. This helps the topping stay shiny and smooth without cracks. Follow these tips for the best results.
Melting Chocolate Properly
Use good quality chocolate chips or bars for melting. Cut the chocolate into small pieces for even melting. Heat the chocolate slowly over low heat or in short bursts in a microwave.
Stir the chocolate often to avoid burning. Stop heating as soon as the chocolate is mostly melted. Keep stirring until it is completely smooth. Avoid water or steam near the chocolate to prevent it from seizing.
Evenly Spreading The Chocolate
Pour the melted chocolate over the marshmallow layer gently. Use an offset spatula or the back of a spoon to spread it. Move the chocolate in smooth, even strokes to cover the surface fully.
Work quickly but carefully. The chocolate will start to harden as it cools. Aim for a thin, uniform layer without gaps or thick spots. This creates a perfect finish and easy cutting.
Chilling And Setting
Chilling and setting are key steps in making the Starbucks Marshmallow Dream Bar. This process helps the bars firm up and develop their perfect texture. Without proper chilling, the layers might not hold together well. Patience pays off here. The right chilling time makes slicing easier and keeps the bars looking neat.
Optimal Refrigeration Time
Refrigerate the bars for at least 3 hours. This allows the chocolate and marshmallow layers to solidify properly. For best results, chill overnight. This deepens the flavor and ensures firm bars. Avoid rushing this step. The longer chill time improves texture and taste.
Preventing Melted Layers
Keep the bars in a cool place during chilling. Avoid warm kitchen spots or direct sunlight. Use a flat tray to keep layers even. Cover the bars with plastic wrap to stop moisture buildup. This helps maintain the smooth, clean layers. Proper chilling avoids melting and messy bars.
Credit: dessertsonadime.com
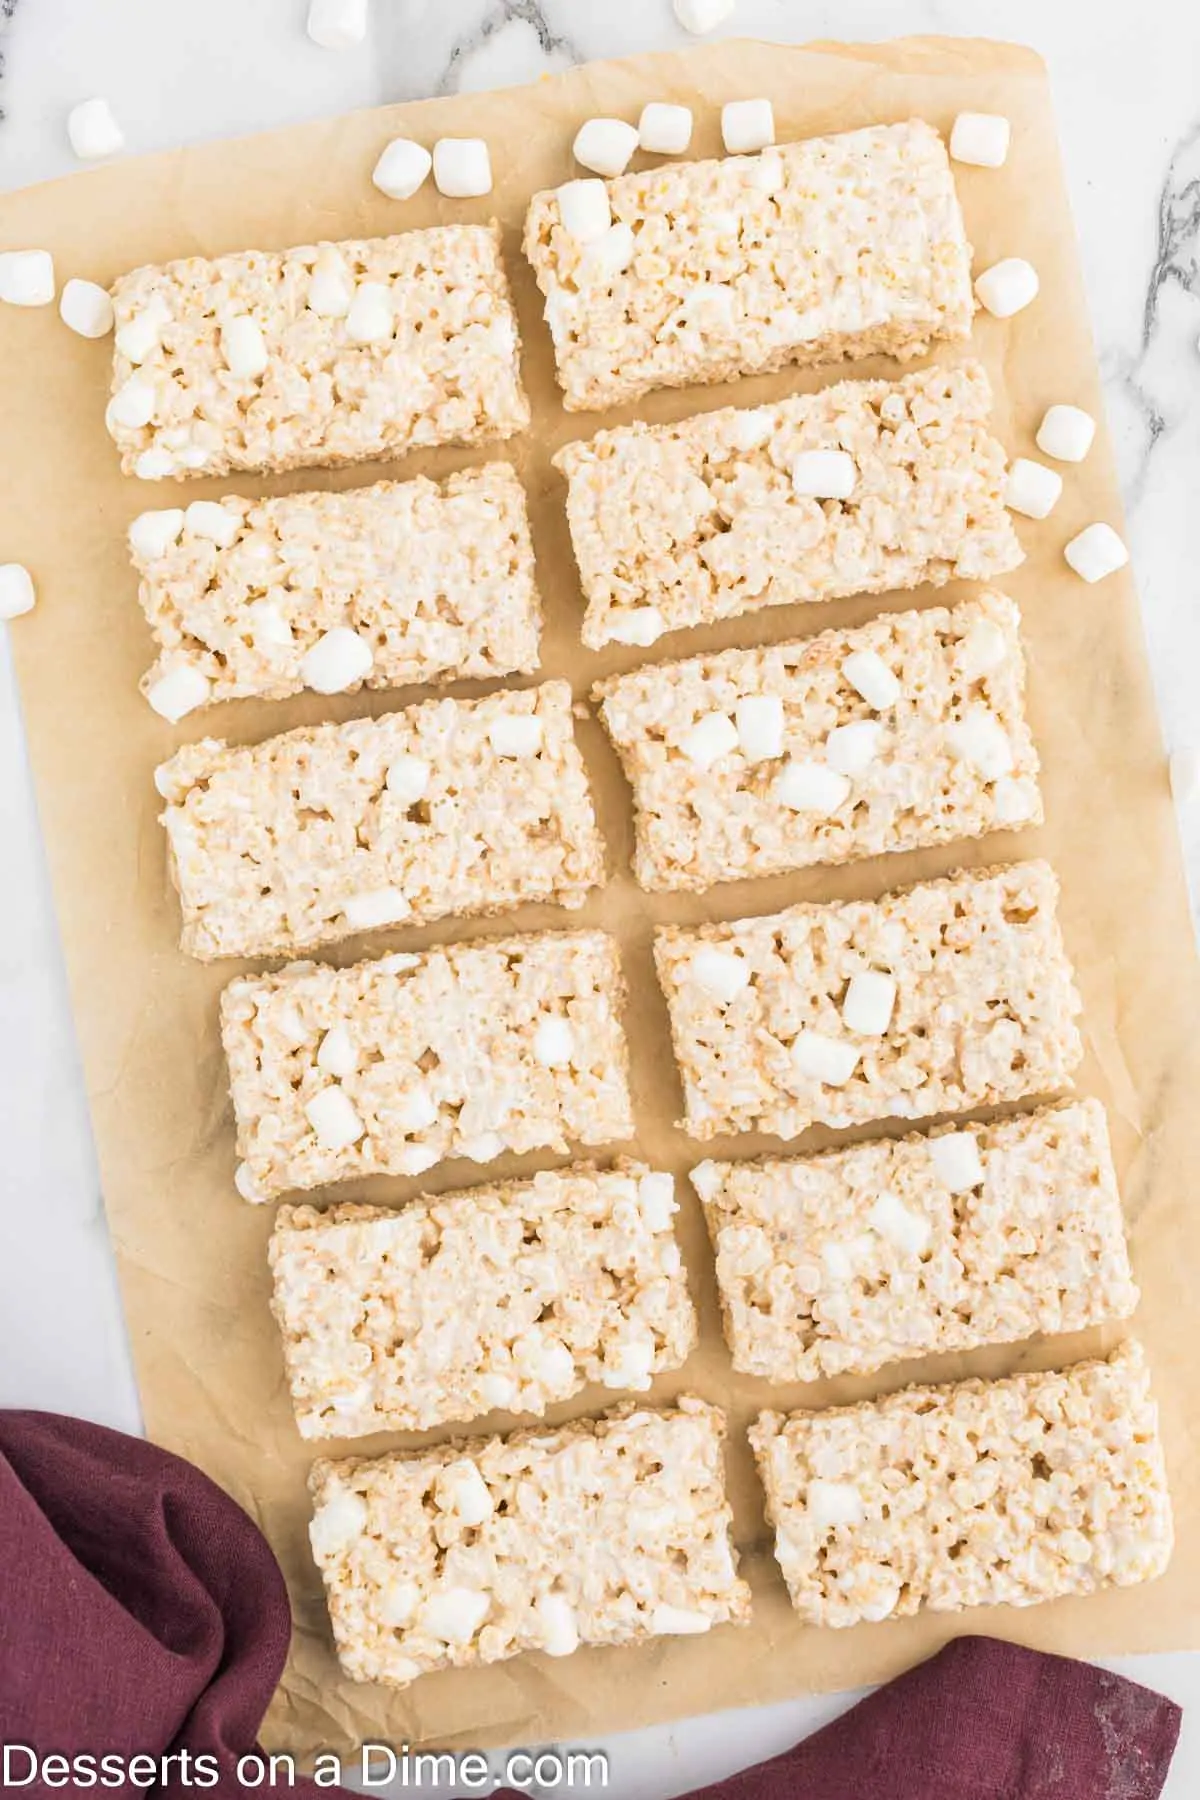
Cutting And Serving
Cutting and serving the Starbucks Marshmallow Dream Bar is an important step. It helps keep the bars neat and easy to eat. Proper cutting ensures each piece looks inviting and tastes great. Serving the bars well enhances the whole dessert experience.
Best Knife Techniques
Use a sharp knife for clean cuts. Dull knives can crush the soft bars. Warm the knife under hot water before cutting. Wipe the blade dry each time you cut. This prevents the marshmallow from sticking. Cut slowly and press straight down. Avoid sawing motions to keep edges smooth. Aim for even pieces, about two inches square. Uniform size helps with portion control and presentation.
Presentation Ideas
Arrange the bars on a white or pastel plate. The colors of the bars will stand out better. Add a sprinkle of powdered sugar on top. It looks like fresh snow and adds sweetness. Place some fresh berries or mint leaves around the bars. This adds color and a fresh touch. Serve with a small cup of coffee or milk. It makes the treat feel complete and cozy.
Tips For Customization
Customizing the Starbucks Marshmallow Dream Bar recipe is a fun way to make it your own. Small changes can create new flavors and textures. You can easily adjust the recipe to suit your taste or occasion. This section offers simple tips to personalize your bars.
Flavor Variations
Try swapping vanilla extract with almond or coconut extract. This changes the taste without much effort. Add a pinch of cinnamon or cocoa powder for a warm twist. Use white chocolate chips for a sweeter flavor. These tweaks keep the bars interesting and fresh.
Adding Nuts Or Sprinkles
Chopped nuts add crunch and a nutty flavor. Use almonds, walnuts, or pecans for variety. Sprinkles bring color and a festive look. Choose rainbow or chocolate sprinkles for different effects. Both nuts and sprinkles make the bars more fun to eat.
Storing Your Treat
After baking your Starbucks Marshmallow Dream Bar, proper storage keeps it fresh and tasty. Knowing how to store these bars helps maintain their soft, gooey texture. It also prevents them from drying out or becoming stale. Follow simple tips to enjoy your treat longer.
Shelf Life
Store your marshmallow bars at room temperature for up to three days. They stay soft and chewy within this time. For longer storage, place them in the fridge. Chilling extends freshness up to one week. Avoid leaving bars out too long to prevent dryness.
Storage Containers
Use airtight containers to keep bars fresh. Plastic or glass containers with tight lids work best. Wrap bars in parchment paper before placing them inside. This stops them from sticking together. Avoid containers that are not sealed well. Proper storage locks in moisture and flavor.

Credit: foodovercomfort.com
Frequently Asked Questions
What Ingredients Are Needed For Starbucks Marshmallow Dream Bar?
You need marshmallows, graham crackers, white chocolate, butter, and vanilla extract. These create the classic sweet, creamy bar.
How Long Does It Take To Make This Bar?
Preparation takes about 15 minutes, and baking requires 20 minutes. Total time is roughly 35 minutes.
Can I Store Starbucks Marshmallow Dream Bars?
Yes, store bars in an airtight container. Keep them at room temperature for up to 3 days.
Are There Any Vegan Alternatives For This Recipe?
Use vegan marshmallows and dairy-free chocolate. Replace butter with coconut oil for a vegan-friendly version.
Conclusion
This Starbucks Marshmallow Dream Bar recipe is simple and fun. You can make it at home with just a few ingredients. The bars taste sweet and soft, just like the original. Perfect for a quick treat or sharing with friends.
Try this recipe and enjoy a delicious dessert anytime. You’ll love the gooey marshmallow and crunchy base. Give it a go and see how easy it is!