

Are you ready to bake bread that’s soft, fluffy, and full of flavor? This sponge bread recipe is exactly what you need.
It’s simple to follow, even if you’re new to baking. Imagine pulling a warm, golden loaf from your oven that fills your kitchen with an irresistible aroma. You’ll want to slice it right away and enjoy it fresh. Keep reading, and you’ll discover easy steps and tips to make the perfect sponge bread every time.
Your baking skills are about to get a delicious upgrade!
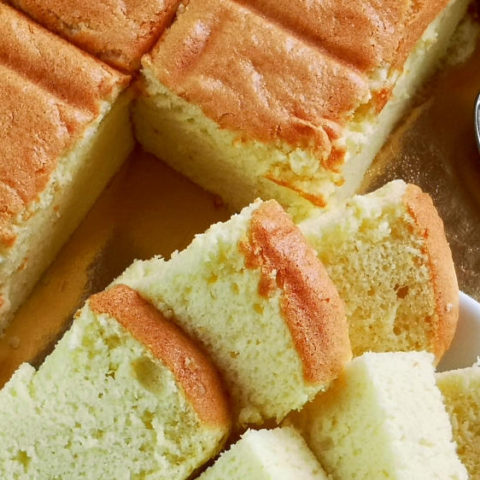
Credit: tasteasianfood.com
Ingredients Needed
Gathering the right ingredients is the first step to baking soft and delicious sponge bread. This bread has a light texture and a mild taste. Simple ingredients create this wonderful treat. Understanding what you need helps prepare for baking without hassle.
Below are the main ingredients and some optional add-ins. These add-ins can give extra flavor and texture to your sponge bread.
Basic Ingredients
- All-purpose flour – the base of the bread.
- Milk – adds moisture and softness.
- Sugar – a little sweetness for taste.
- Yeast – helps the bread rise.
- Salt – enhances flavor.
- Butter – adds richness and tenderness.
- Eggs – improve texture and color.
Optional Add-ins
- Vanilla extract – for a subtle aroma.
- Honey – natural sweetness and moisture.
- Seeds (like sesame or poppy) – add crunch and flavor.
- Dried fruits – for a sweet surprise inside.
- Spices such as cinnamon – create a warm taste.
Preparing The Sponge
Preparing the sponge is the first key step in making soft and airy sponge bread. This stage sets the base for the bread’s texture and flavor. The sponge acts like a starter that helps the dough rise well.
Careful attention during this step ensures the yeast activates properly. This gives the bread a light crumb and better taste. Let’s break down the process into two important parts.
Mixing Yeast And Flour
Start by combining yeast with flour and water. Use lukewarm water to help the yeast wake up. Stir gently until the mixture is smooth. The consistency should be like thick batter. Avoid lumps to give yeast good contact with flour.
This mixture begins the fermentation process. It allows the yeast to feed on sugars in the flour. This produces gas bubbles that help the dough rise later.
Fermentation Time
Cover the sponge with a cloth or plastic wrap. Let it rest at room temperature for 1 to 2 hours. The sponge will bubble and grow in size. This shows the yeast is active and working well.
Do not rush this step. Proper fermentation adds flavor and improves bread texture. The sponge is ready when it looks bubbly and slightly risen.
Making The Dough
Making the dough is a key step in creating soft and airy sponge bread. This stage brings together the sponge starter and fresh ingredients. It prepares the dough for the next steps of rising and baking.
Combining Sponge And Remaining Ingredients
Start by placing the sponge in a large bowl. Add the remaining flour, sugar, salt, and yeast. Pour in the milk and beaten eggs. Mix everything gently with a spoon or your hand.
The dough will feel sticky at first. This is normal. Let it rest for a few minutes. The flour absorbs the liquid, making the dough easier to handle.
Kneading Techniques
Turn the dough onto a clean surface. Use the heel of your hand to push the dough away. Fold it back toward you. Repeat this motion for about 8 to 10 minutes.
Kneading develops gluten, giving the bread structure. The dough should become smooth and elastic. If it feels too sticky, sprinkle a little flour. Avoid adding too much flour. Soft dough makes lighter bread.
First Rise
The first rise is a key step in making sponge bread. It helps the dough develop flavor and texture. During this time, yeast ferments the sugars, creating gas. This gas makes the dough expand and become light. Patience is important here. The dough should double in size before moving to the next step.
Ideal Conditions
The dough needs a warm and draft-free place to rise. A temperature between 75°F and 85°F works best. Too cold slows the yeast down. Too hot can kill it. Cover the bowl with a damp cloth or plastic wrap. This keeps the dough moist and stops a skin from forming.
Timing Tips
The first rise usually takes about 1 to 2 hours. Check the dough after one hour. It should look puffy and feel soft. Do not rush. If the dough has not doubled, give it more time. Over-rising can cause the dough to collapse. Watch closely and use your senses to decide when it is ready.
Shaping The Loaf
Shaping the loaf is an important step in making sponge bread. It gives the bread its final form and texture. Proper shaping helps the bread rise evenly and bake well. You want a smooth, tight surface without holes or lumps. This step takes a little practice but is worth the effort.
Pay attention to how you handle the dough. Gentle but firm movements work best. The dough should feel soft and springy, not sticky or dry. Let’s explore some key techniques for shaping your sponge bread.
Forming Techniques
Start by turning the dough out onto a lightly floured surface. Use your hands to fold the edges toward the center. This creates tension on the outer layer. Roll the dough gently into a tight log or round shape. Pinch the seams closed to keep the shape firm. Use your palms to smooth the surface. This helps the bread look nice and bake evenly.
Avoiding Air Pockets
Air pockets can cause holes inside the bread. Press the dough gently to release large bubbles. Be careful not to press too hard and lose all the air. Keep some small bubbles for a light texture. Check the dough’s surface for any trapped air. Pinch or fold those areas to seal them. This creates a uniform crumb and better rise.
Second Rise
The second rise is a key step in making sponge bread soft and airy. It allows the dough to expand more and develop flavor. This rise happens after shaping the dough into its final form. During this time, yeast continues to produce gas, creating tiny bubbles inside the dough. These bubbles make the bread light and fluffy after baking.
Proofing Duration
The second rise usually takes 30 to 60 minutes. The exact time depends on the room temperature and dough type. A warm place speeds up the process. Cooler spots slow it down. Check the dough often to avoid overproofing. Overproofed dough can collapse and lose shape.
Signs Of Readiness
The dough is ready when it looks puffy and soft. It should have risen about double in size. Press the dough gently with a finger. If the indentation springs back slowly, it is ready to bake. If it springs back quickly, it needs more time. If it doesn’t spring back, it may be overproofed.
Baking The Bread
Baking sponge bread is a simple step that needs care. The right heat and time bring a soft, airy texture. This part shapes the final bread quality. Follow the tips below for best results.
Oven Temperature Settings
Set your oven to 350°F (175°C). This temperature helps the bread rise and bake evenly. Too hot, and the bread may burn outside but stay raw inside. Too cool, and it won’t rise well. Preheat the oven fully before placing the bread inside.
Baking Time Guidelines
Bake the sponge bread for 25 to 30 minutes. Check the bread after 20 minutes to avoid overbaking. The top should turn golden brown. Test with a toothpick; it should come out clean. Let the bread cool before slicing for best texture.

Credit: www.youtube.com
Cooling And Storing
Cooling and storing sponge bread correctly keeps it soft and fresh. Proper steps prevent sogginess and staleness. Letting the bread cool fully is important before storing. This helps keep the texture light and airy. Follow these methods to enjoy your sponge bread longer.
Proper Cooling Methods
Remove the bread from the pan carefully. Place it on a wire rack to cool evenly. Avoid covering the bread while it is hot. Trapping heat makes the bread soggy. Let the bread cool for at least one hour. Check that it feels cool to the touch. This ensures moisture escapes and the crust stays firm.
Storage Tips For Freshness
Store sponge bread in a paper bag or bread box. These allow air circulation and prevent sogginess. Avoid plastic bags as they trap moisture. For longer storage, wrap the bread in foil and freeze. Slice the bread before freezing for easy use later. Thaw slices at room temperature before eating. Keep bread away from direct sunlight and heat. This helps maintain its softness and flavor.
Troubleshooting Common Issues
Baking sponge bread can bring joy, but it sometimes causes trouble. Knowing common problems helps fix them fast. This guide covers common issues and easy solutions. You will get soft, fluffy bread every time.
Dense Or Heavy Bread
Sponge bread should be light and airy. Dense bread means the dough lacked air. Overmixing or too much flour causes this. Use a gentle hand when folding ingredients. Measure flour carefully; too much makes bread heavy.
Check the sponge. It should be bubbly and active before baking. Underproofed dough also makes bread dense. Let the dough rise fully in a warm place.
Bread Not Rising
Yeast makes bread rise. If bread stays flat, yeast might be old or dead. Test yeast in warm water with sugar before use. Water too hot or cold kills yeast. Keep water around 100°F (38°C).
Another cause is short rising time. Let dough rise until it doubles in size. Cold kitchen or drafts slow down rising. Find a warm, draft-free spot for proofing.
Crust Problems
Crust too hard or too soft? Hard crust can mean baking too long or oven too hot. Soft crust may mean not enough baking time or too much moisture.
Use an oven thermometer to check temperature. Bake sponge bread on the middle rack. For a softer crust, cover bread with foil near the end of baking.
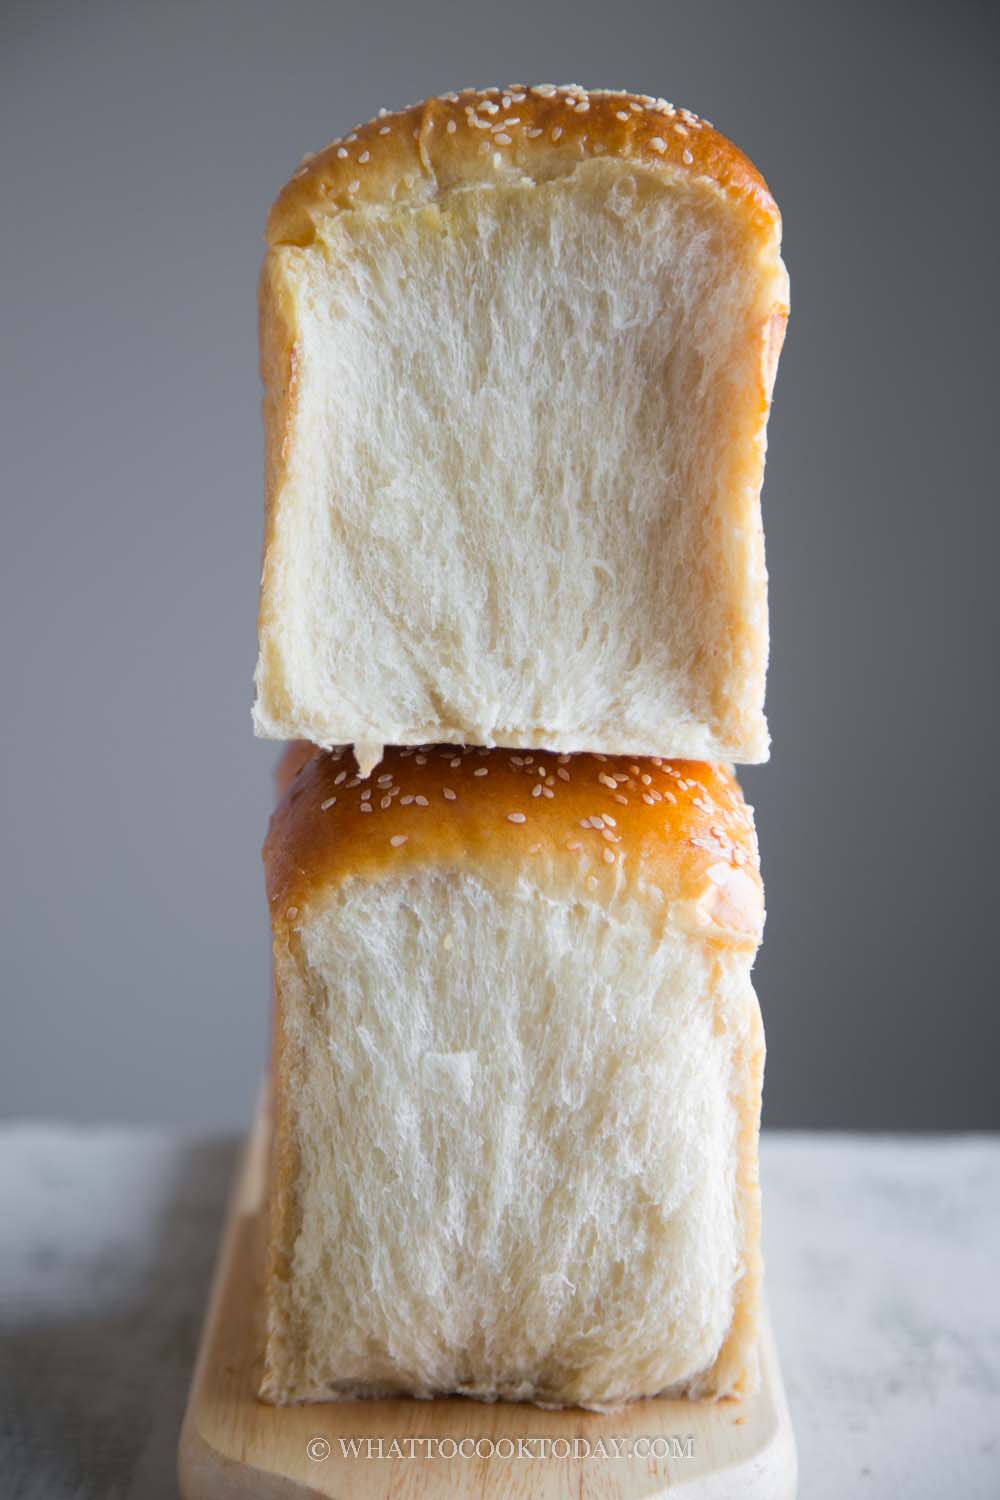
Credit: whattocooktoday.com
Variations To Try
Exploring different variations of sponge bread can make baking more fun. You can change the recipe to suit your taste or try healthier options. Each variation offers a unique flavor and texture to enjoy.
Whole Wheat Sponge Bread
Use whole wheat flour instead of white flour for a nutty taste. Whole wheat adds more fiber and nutrients to your bread. The bread may be denser but still soft and tasty. Great for a healthier breakfast or snack.
Adding Seeds And Nuts
Mix seeds like sesame, sunflower, or flax into the dough. Nuts such as walnuts or almonds add crunch and flavor. These ingredients boost the bread’s nutrition with healthy fats and protein. Perfect for a filling and textured loaf.
Sweet Sponge Bread Options
Add sugar, honey, or cinnamon for a sweet twist. You can also mix in raisins or dried fruits for extra sweetness. Sweet sponge bread works well for desserts or special treats. Serve it warm with butter or jam for a tasty snack.
Frequently Asked Questions
What Is Sponge Bread And How Is It Different?
Sponge bread uses a pre-fermented dough called sponge. It improves flavor, texture, and rise. Unlike regular bread, it’s lighter and softer. The sponge fermenting step boosts yeast activity and gluten development, making the bread airy and tender.
How Long Does Sponge Bread Take To Prepare?
Preparation typically takes 2 to 3 hours. Sponge fermentation needs 1 to 2 hours. After mixing, the dough requires additional rising time. Total baking time is about 30 to 40 minutes. Timing varies with room temperature and yeast activity.
Can I Use Whole Wheat Flour For Sponge Bread?
Yes, whole wheat flour can be used. It adds a nutty flavor and more fiber. However, whole wheat may reduce dough rise slightly. Mixing whole wheat with all-purpose flour improves texture. Adjust water content to keep dough moist.
What Are Common Mistakes When Making Sponge Bread?
Over or under fermenting the sponge is common. Over-fermentation can cause a sour taste, under-fermentation limits rise. Also, improper dough kneading affects texture. Use fresh yeast and measure ingredients accurately for best results.
Conclusion
Sponge bread is soft, light, and easy to make at home. This recipe uses simple steps anyone can follow. Freshly baked sponge bread tastes great with butter or jam. It makes perfect toast or sandwich bread for any meal. Try baking it today and enjoy warm, fresh bread.
Baking bread can be fun and relaxing too. Your kitchen will smell wonderful, and your family will smile. Give this sponge bread recipe a chance to brighten your day.