

Are you ready to impress your friends and family with a fun and spooky treat? These Spider Web Cookie Stamp Cookies are not only easy to make but also look amazing every time.
You don’t need fancy tools or baking skills to create perfect spider web designs on your cookies. Imagine biting into a soft, delicious cookie that’s as eye-catching as it is tasty. Keep reading, and you’ll discover a simple recipe that makes baking fun and stress-free—your next favorite cookie is just a few steps away!
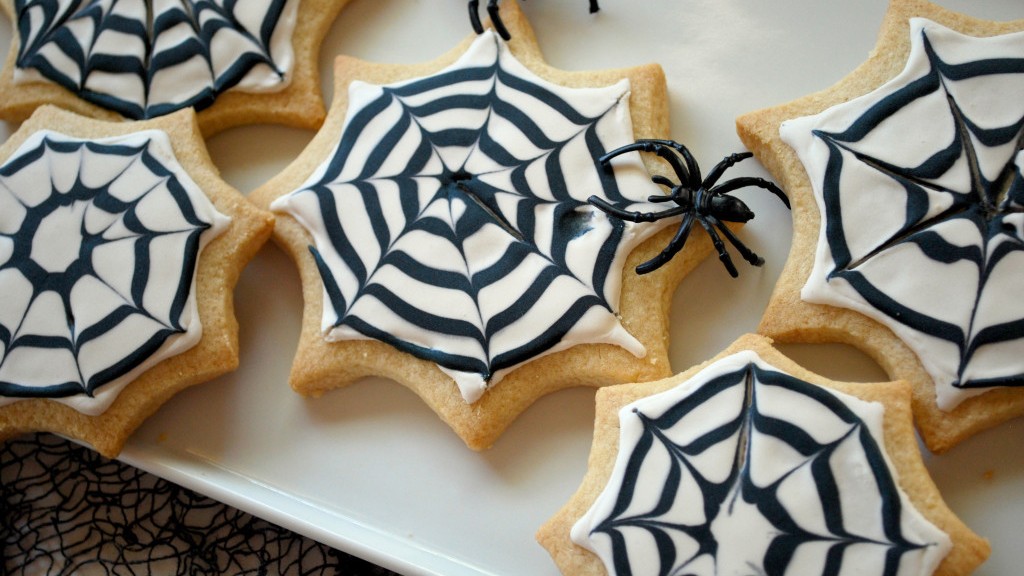
Credit: www.pamelasproducts.com
Ingredients For Spider Web Cookies
Making spider web cookies is simple and fun. The ingredients are easy to find and work with. Each one helps create the perfect texture and flavor.
Use fresh ingredients for the best result. Measure carefully to get the right balance. This helps the cookies bake evenly and look great.
Flour
All-purpose flour forms the base of the cookie dough. It gives the cookies structure and softness.
Sugar
Granulated sugar adds sweetness and helps the cookies brown. It also creates a slight crunch.
Butter
Use unsalted butter for a rich, creamy taste. It keeps the cookies moist and tender.
Egg
One large egg binds the ingredients and adds moisture. It helps the dough hold together.
Vanilla Extract
Vanilla extract adds a warm, sweet aroma. It enhances the cookie’s flavor without overpowering.
Baking Powder
Baking powder makes the cookies rise slightly. It creates a light, soft texture.
Black Food Coloring
Black food coloring is key for the spider web design. It contrasts well with the cookie dough.
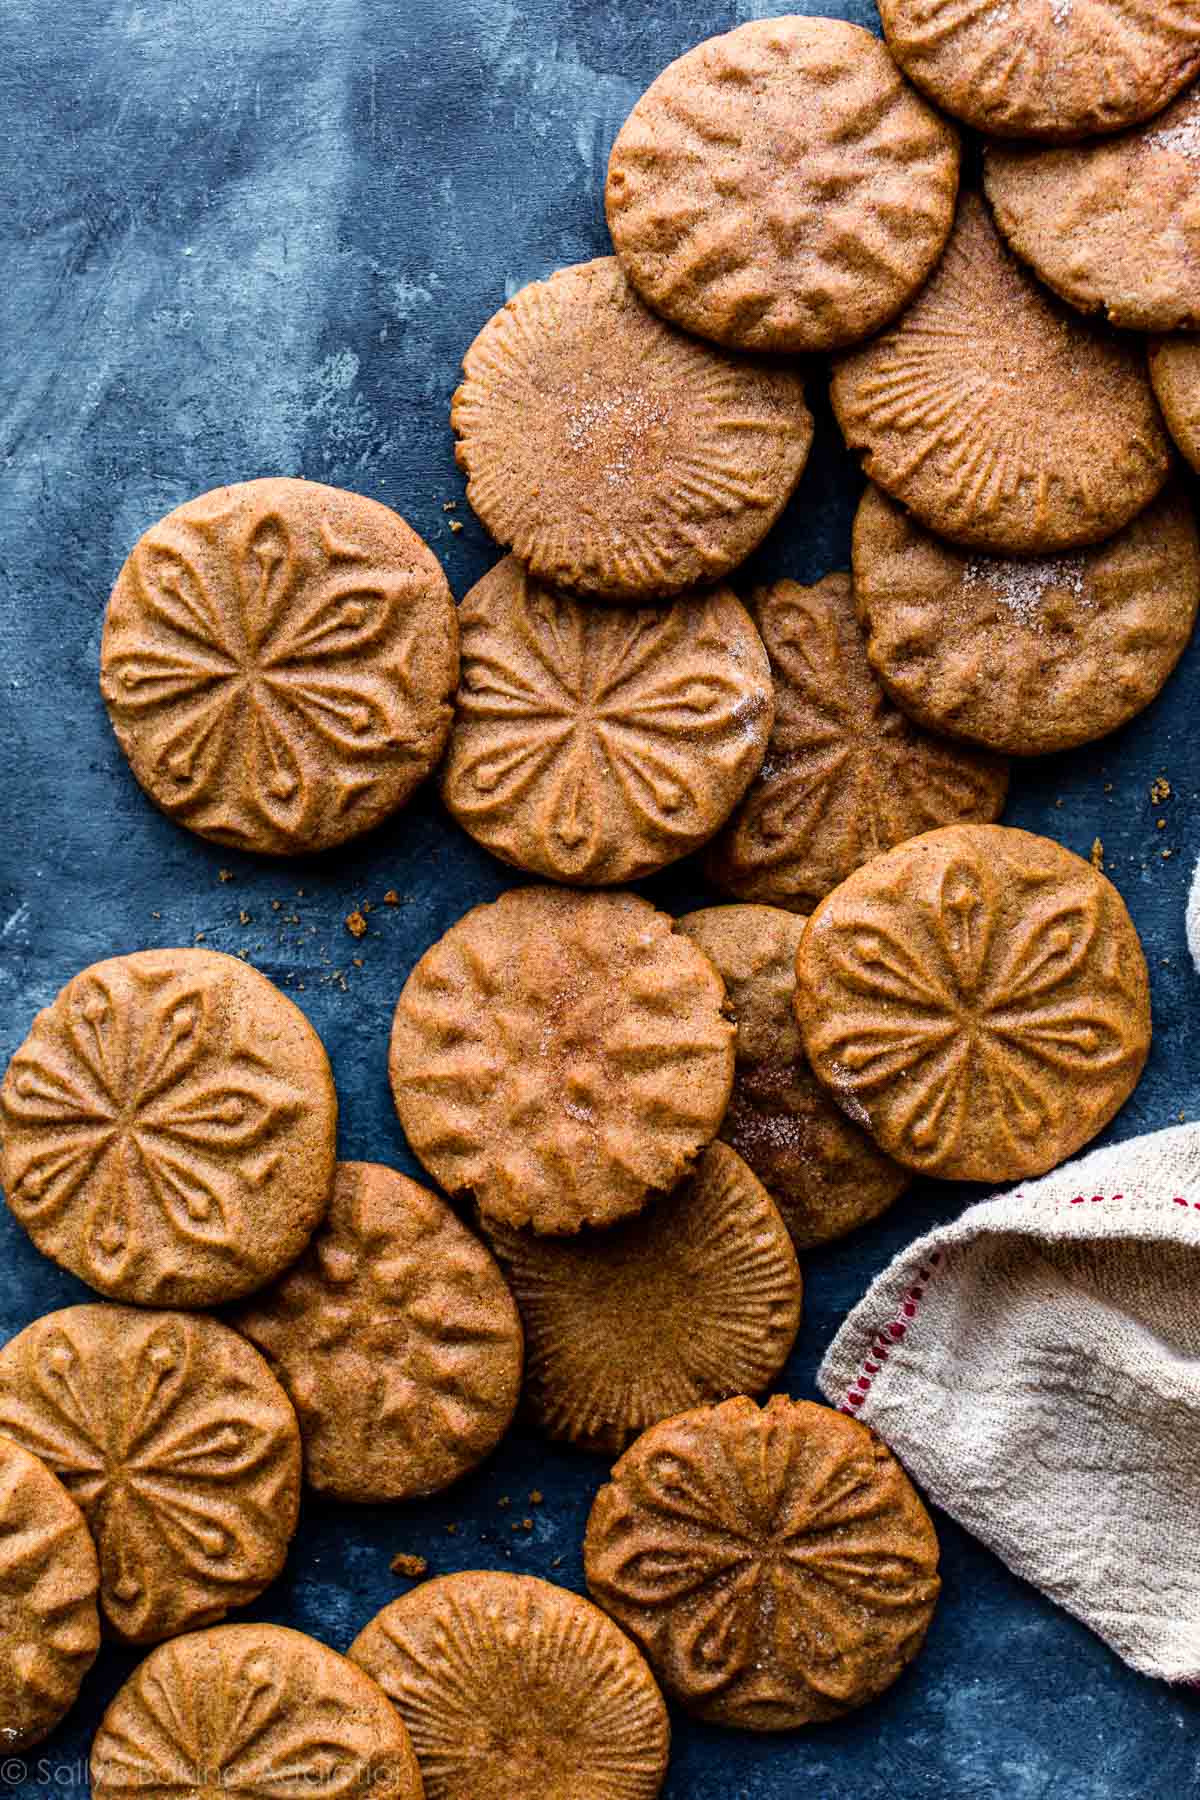
Credit: sallysbakingaddiction.com
Tools Needed
To make Spider Web Cookie Stamp Cookies, gather a few simple tools. These tools help you shape and decorate cookies easily. Using the right tools saves time and gives neat results. Keep everything ready before starting to bake.
Cookie Stamp
A cookie stamp is key to making the spider web pattern. It presses the design into the dough quickly. Choose a stamp with a clear spider web shape. This tool makes your cookies look special.
Mixing Bowls
Use medium and large bowls for mixing dough ingredients. Bowls with smooth edges help combine ingredients well. Mixing bowls keep your workspace clean and organized.
Measuring Cups And Spoons
Accurate measuring cups and spoons ensure the dough turns out right. They help keep the cookie texture perfect. Use dry and liquid measures for best results.
Baking Sheet
A baking sheet holds the cookies during baking. Choose a flat, non-stick sheet for even cooking. Line it with parchment paper to prevent sticking.
Rolling Pin
A rolling pin flattens the dough to the right thickness. Smooth, even dough makes stamping easier. Use it gently to avoid tearing the dough.
Cooling Rack
Cooling racks let cookies cool evenly after baking. They stop cookies from getting soggy. Place cookies on the rack for best texture.
Preparing The Dough
Preparing the dough is the first step to making perfect Spider Web Cookie Stamp Cookies. The dough needs to be smooth and firm enough to hold the spider web pattern. Taking time with this step ensures cookies bake evenly and keep their shape well.
Start with simple mixing and then chill the dough. These steps help you create easy, delicious cookies that look great.
Mixing Ingredients
Begin by combining butter and sugar in a bowl. Cream them together until light and fluffy. Add eggs one at a time. Stir in vanilla extract for flavor.
In another bowl, mix flour, baking powder, and salt. Slowly add dry ingredients to wet ones. Mix until the dough comes together. Avoid overmixing to keep cookies tender.
Chilling The Dough
Wrap the dough in plastic wrap. Chill it in the fridge for at least one hour. This step firms up the dough for easy stamping. Cold dough helps the spider web pattern stay clear during baking.
Chilling also prevents cookies from spreading too much. Patience here means better shape and texture later.
Using The Spider Web Cookie Stamp
The spider web cookie stamp makes decorating cookies quick and fun. It creates a perfect spider web pattern on soft cookie dough. This adds a spooky and festive touch to your cookies. The stamp works best on dough that is not too sticky or too dry. Pressing the stamp gently helps to get a clear design without breaking the cookie.
Using the stamp is simple, but some small tricks can improve the results. The right pressure and dough texture are key. Let’s explore how to use the stamp with ease and get beautiful cookies every time.
Stamping Techniques
First, roll the cookie dough evenly to about 1/4 inch thickness. Place the dough on a flat surface. Hold the spider web stamp firmly and press it down straight. Apply even pressure across the stamp. Avoid rocking the stamp as it can blur the design. Lift the stamp straight up carefully. This keeps the pattern sharp and clean. Repeat the process for all cookies. Chill the stamped dough briefly before baking. This helps the shape hold during baking.
Tips For Clear Impressions
Dust the stamp lightly with flour before pressing. This stops the dough from sticking. Use dough that is cool, not warm or sticky. Warm dough can cause smudges. Clean the stamp after each use to keep details clear. Press the stamp gently but firmly. Too much pressure can flatten the design. Practice on a small piece of dough first. This helps you find the right pressure. Use cookie dough with a smooth surface. Avoid dough with cracks or bumps. These tips help you get perfect spider web cookies every time.
Baking Instructions
Press the spider web cookie stamp gently into each dough ball before baking. Bake at 350°F for 10-12 minutes until edges turn golden. Let cookies cool on a wire rack for crisp texture.
Oven Settings
Set your oven to 350°F (175°C) before you start baking. This temperature is perfect for Spider Web Cookie Stamp Cookies. It helps the cookies bake evenly and stay soft inside. Make sure the oven is fully preheated to get the best results.
Baking Time
Bake the cookies for 10 to 12 minutes. Keep an eye on them to avoid overbaking. The edges should be lightly golden while the center stays soft. Remove the cookies from the oven and let them cool on a tray for a few minutes before serving.
Decorating Ideas
Decorating Spider Web Cookie Stamp Cookies can be simple and fun. These cookies already have a beautiful web pattern. Enhancing them with colors and textures makes them perfect for parties or gifts. Use basic supplies you have at home for creative and tasty results.
Icing And Sprinkles
Use white or black icing to highlight the web pattern. Spread a thin layer carefully to keep the design visible. Add small dots of colored icing on the web intersections for a playful touch. Sprinkles add texture and sparkle. Choose tiny round sprinkles or edible glitter for a subtle shine. Place sprinkles along the edges or inside the web lines for contrast.
Creative Designs
Try different colors like orange or purple for a Halloween theme. Use a toothpick to draw small spiders or bats on the cookie surface. Layer icing in different shades for a 3D effect. Create spider eyes with tiny candy pieces or chocolate chips. Experiment with edible markers to add personal messages or fun shapes. These simple ideas make each cookie unique and eye-catching.
Storing And Serving
Storing and serving Spider Web Cookie Stamp cookies properly keeps them fresh and tasty. These cookies stay soft and chewy with the right care. Follow simple steps to enjoy them longer and share them beautifully.
Storing Spider Web Cookie Stamp Cookies
Let cookies cool completely before storing. Use an airtight container to keep moisture out. Store cookies at room temperature for up to one week. For longer storage, freeze cookies in a sealed bag. Thaw frozen cookies at room temperature before serving.
Serving Suggestions
Serve cookies with a glass of milk or hot cocoa. Arrange them on a festive plate for parties. Garnish with a light dusting of powdered sugar. Perfect for Halloween or any spooky-themed event. Enjoy them fresh for the best taste and texture.
Troubleshooting Common Issues
Sometimes, making spider web cookie stamp cookies might not go as planned. Small issues can stop your cookies from looking perfect. This section helps solve common problems. Fix these to get better results every time.
Stamping Problems
Cookies may lose their stamp shape after baking. This happens if the dough is too soft. Chill the dough before stamping. Press the stamp firmly but gently.
Sometimes, the stamp sticks to the dough. Lightly dust the stamp with flour. Avoid using too much flour; it can blur the design.
If the design is unclear, press the stamp deeper. Use even pressure for a clear pattern. Clean the stamp between uses for sharp lines.
Texture Fixes
Cookies can be too hard or too soft. For soft cookies, add less flour next time. For hard cookies, bake for less time or add a bit more butter.
Crumbly dough means too much flour or not enough fat. Add a small amount of milk or butter. Mix gently to keep dough soft and smooth.
Sticky dough sticks to your hands and tools. Chill it for 30 minutes before shaping. Use a little flour on your hands and surface.
Variations And Flavor Twists
Spider Web Cookie Stamp Cookies are fun and simple to make. You can easily change their flavors and ingredients. This keeps the cookies exciting and suits different tastes. Try these ideas to create your own unique treats.
Alternative Flavors
Swap vanilla for almond extract to give a nutty twist. Add cocoa powder for chocolate-flavored cookies. Mix in orange or lemon zest for a fresh citrus touch. Use cinnamon or pumpkin spice for a warm, cozy flavor. These changes make your cookies taste new and fun.
Dietary Modifications
Use gluten-free flour for those with gluten allergies. Substitute butter with coconut oil for a dairy-free option. Replace sugar with honey or maple syrup to lower processed sugar. Use egg replacers to make vegan-friendly cookies. These swaps help everyone enjoy your spider web cookies.
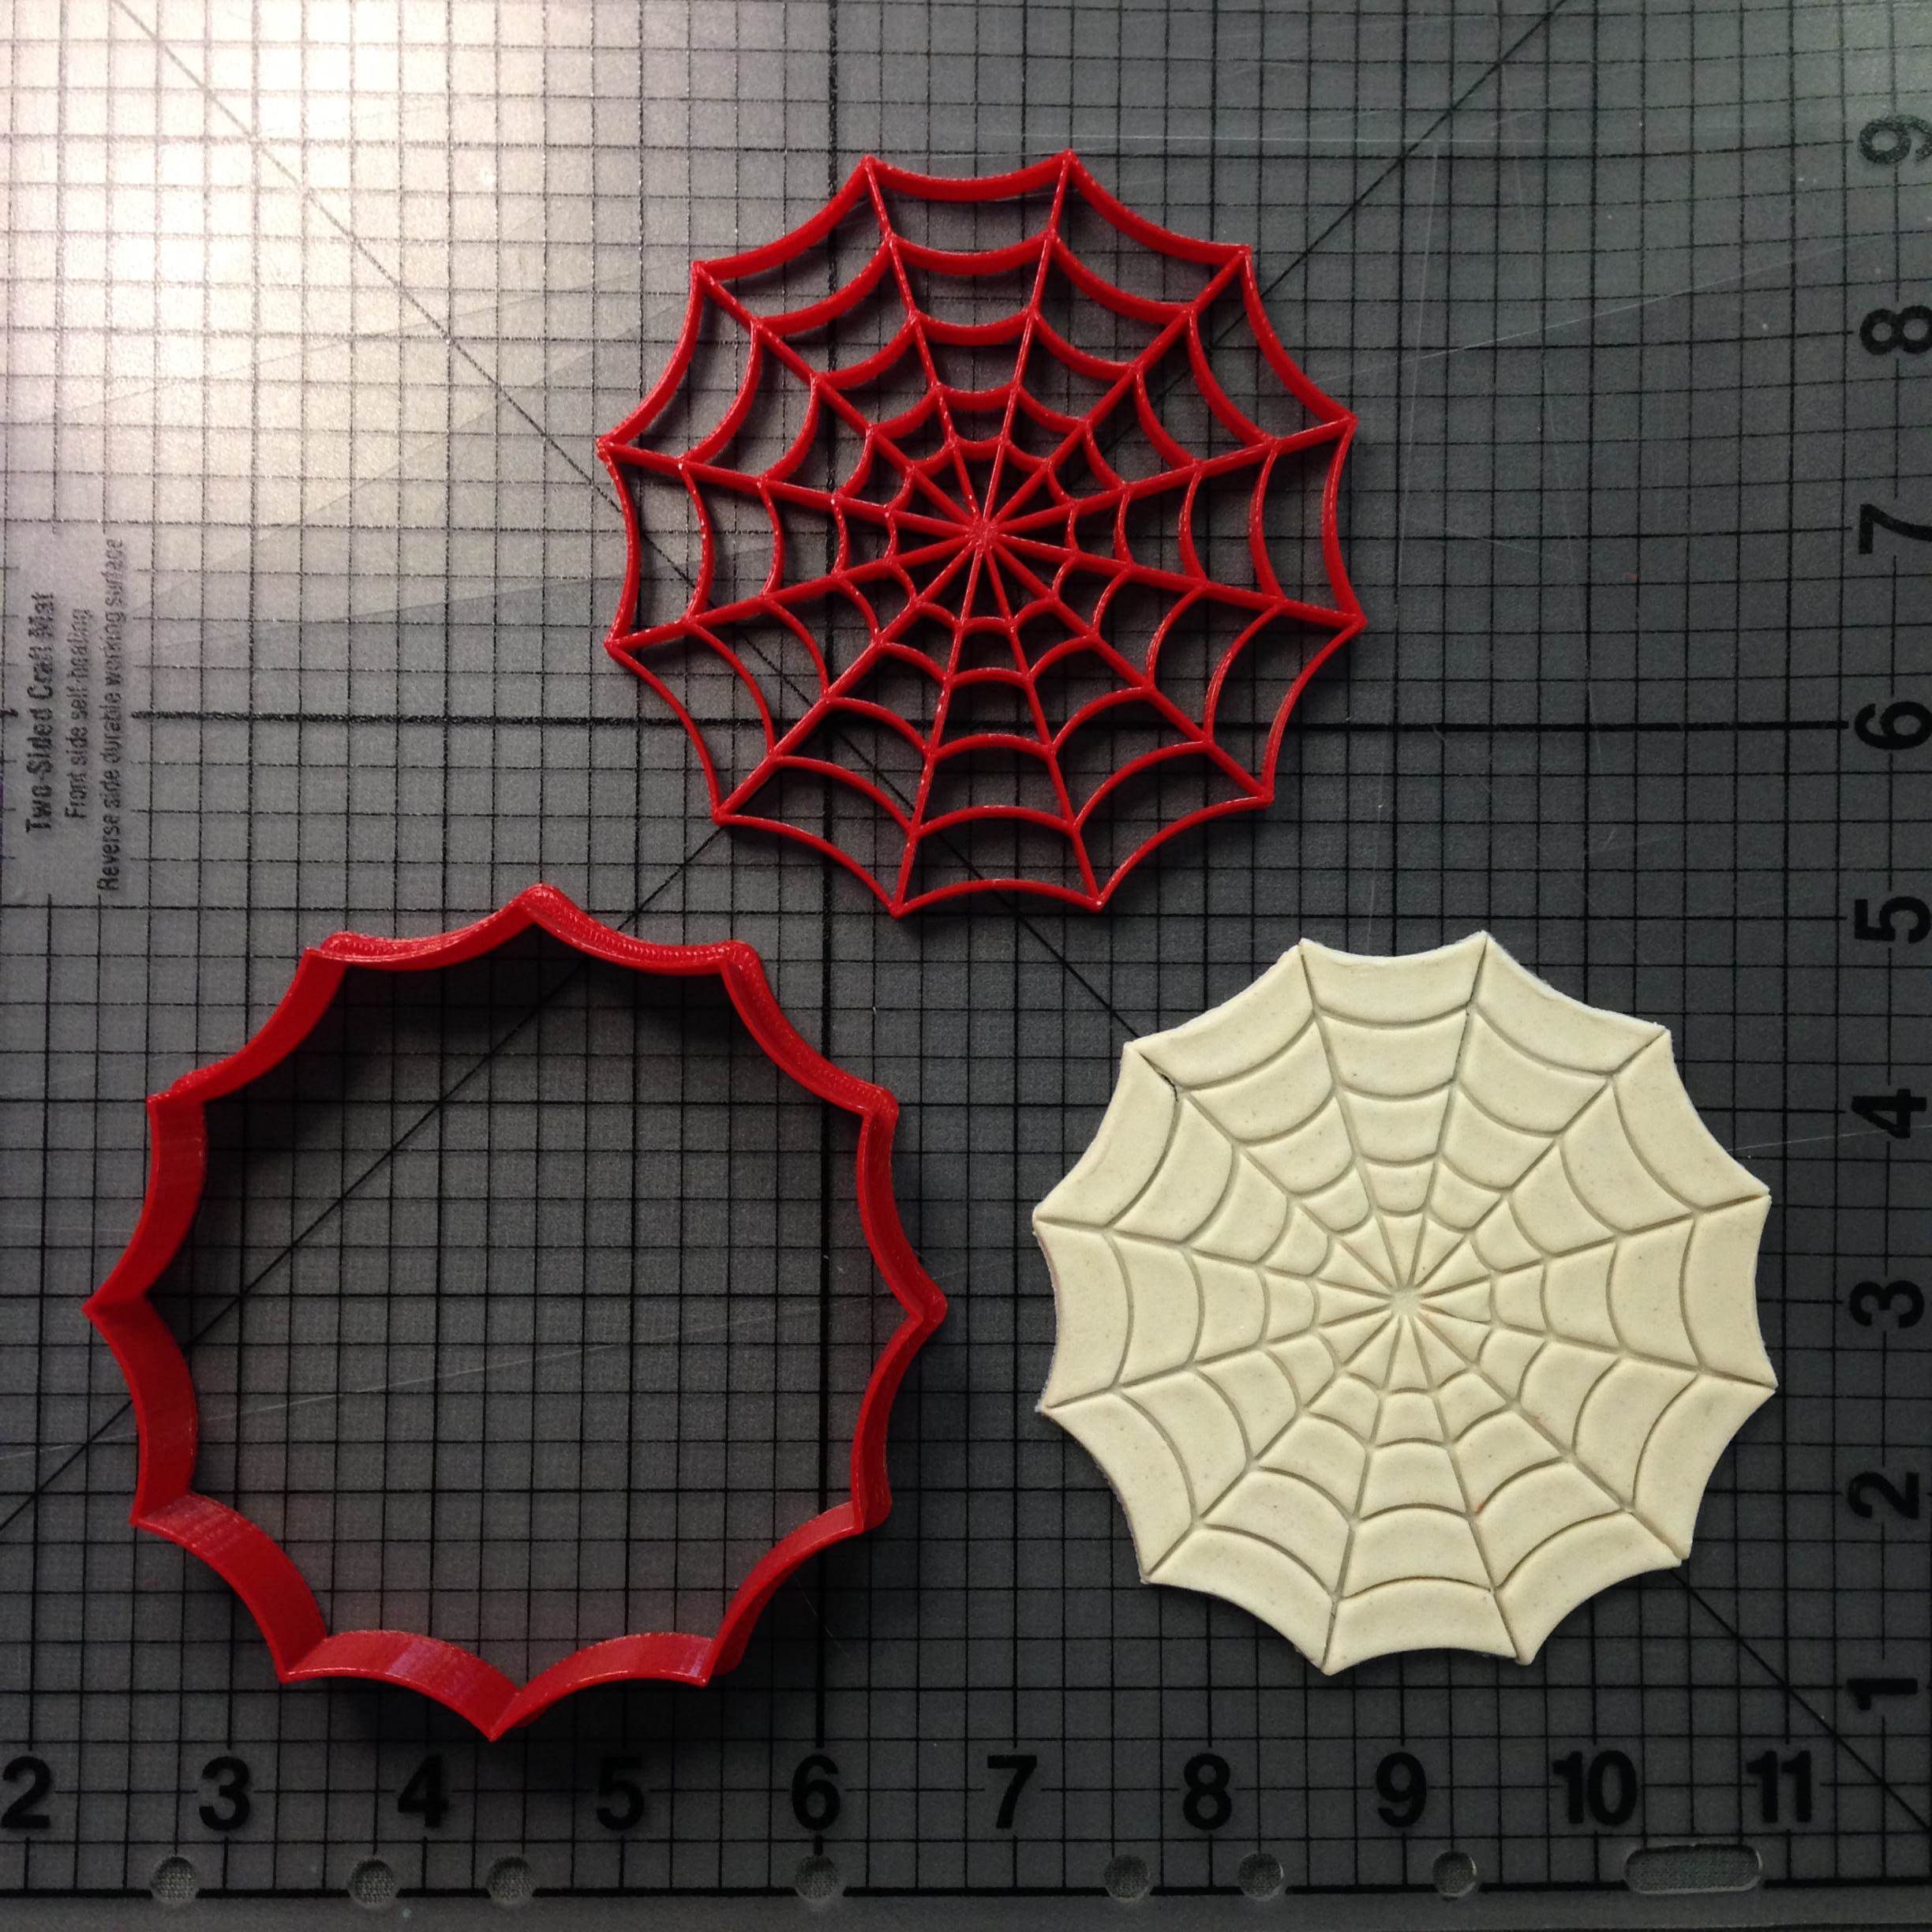
Credit: www.jbcookiecutters.com
Frequently Asked Questions
What Ingredients Are Needed For Spider Web Cookie Stamps?
You need basic cookie ingredients like flour, sugar, butter, eggs, and vanilla. A spider web cookie stamp is essential for the design. Optional spices can add flavor, but the stamp creates the unique web pattern easily.
How Do You Use A Spider Web Cookie Stamp?
Press the cookie stamp firmly onto rolled cookie dough before baking. This creates an intricate spider web pattern. Make sure the dough is chilled to hold the design well during baking for best results.
Can I Use The Spider Web Stamp On Other Dough Types?
Yes, the spider web stamp works well on various doughs like sugar, shortbread, or gingerbread. Ensure the dough is firm and chilled. Softer doughs may lose the pattern during baking, so handling is key.
How Long Do Spider Web Cookies Take To Bake?
Typically, spider web cookies bake in 8-12 minutes at 350°F (175°C). Watch closely to avoid overbaking. The edges should be lightly golden while the design stays visible and crisp.
Conclusion
This spider web cookie stamp recipe is simple and fun. You need only a few ingredients and tools. Kids and adults enjoy making these cookies together. The design adds a spooky touch for Halloween or parties. Baking at home saves money and tastes better.
Try this easy recipe to impress friends and family. Baking brings joy and sweet memories. Give it a try soon!